

(Visit Mannanova Solutions during KombuchaKon at Booth #300)
We speak with kombucha brewers every day, and at every step of their journey. From homebrewers encouraged by friends and families to start selling their kombucha, all the way to large commercial brewers.
A lot of the homebrewers wonder: “what are some steps I can implement *now* to run a more professional operation”?
Here are three tips for homebrewers looking to simplify their production process, and stabilize their product.
1. SCOBY Comes in Two Phases
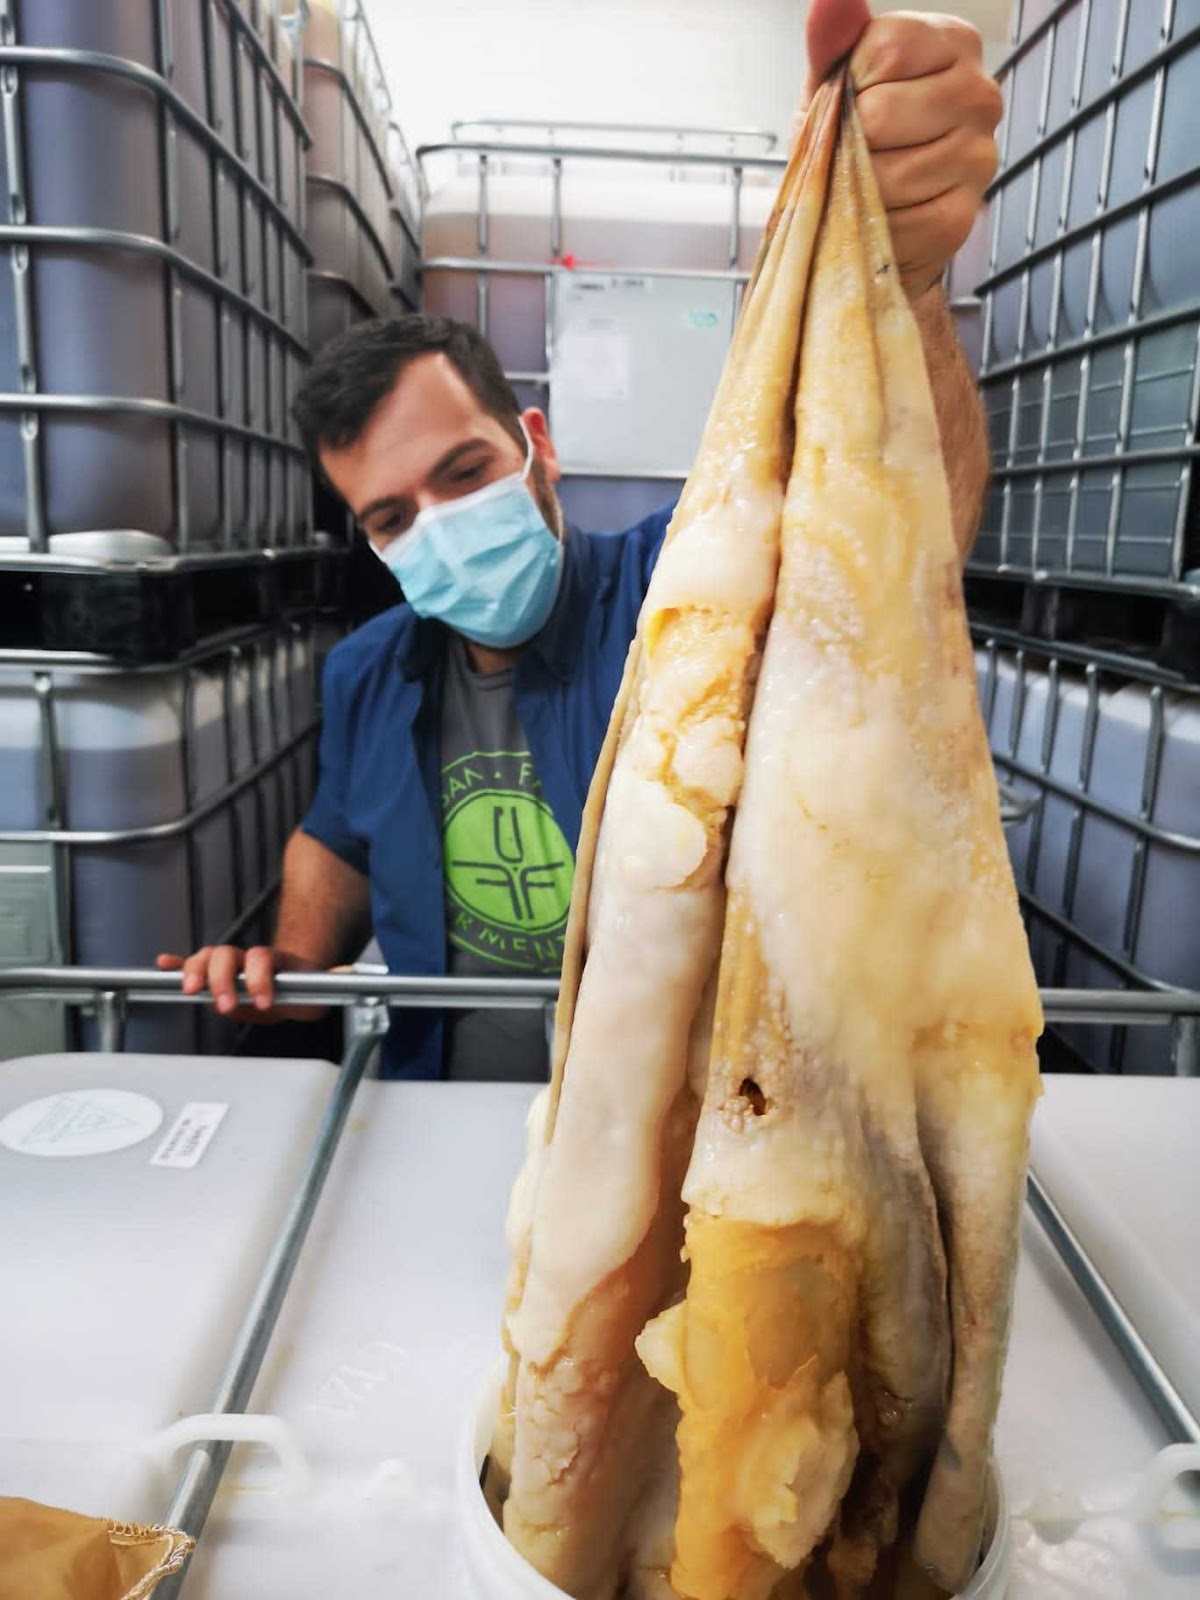
In the homebrewing world, we’ve put such an emphasis on the mother that when we scale up to commercial production, we kinda feel bad telling people to “throw momma in the trash”…
The truth of the matter is that the SCOBY is also present in the liquid phase (ie “starter”) as in the solid phase. KBI recently updated their Code of Practice to reflect this terminology. The bacteria and yeast in your starter will coalesce and form a pellicule. The more SCOBY that is produced, the more sour your kombucha will get: they go hand in hand. We like to always throw a few pieces into a brew for old time’s sake, as it helps the fermentation, but it’s fine if you don’t have any.
We suggest people brew a new starter with 10-20% of pre-existing starter (pH 2.8 – 3.2), but without feeling like they have to drag all of their SCOBY from batch to batch. A healthy brew will create a new SCOBY, which is good visual feedback regarding the state of your fermentation.
We compost our SCOBY; others use it to make gummies, dog food, or even “paper”! It’s cellulose: as insoluble fiber it can’t be digested by the human body, but that doesn’t mean it can’t be delicious (think of bubble gum; or wet newspaper, a delicacy in our region*!).
If you prefer the continuous brew method, we suggest doing 3 brews, then chucking most of your solid SCOBY and doing a deep clean of the fermenter before brewing again.
2. Force-Carbonate for Increased Stability and Lower Alcohol
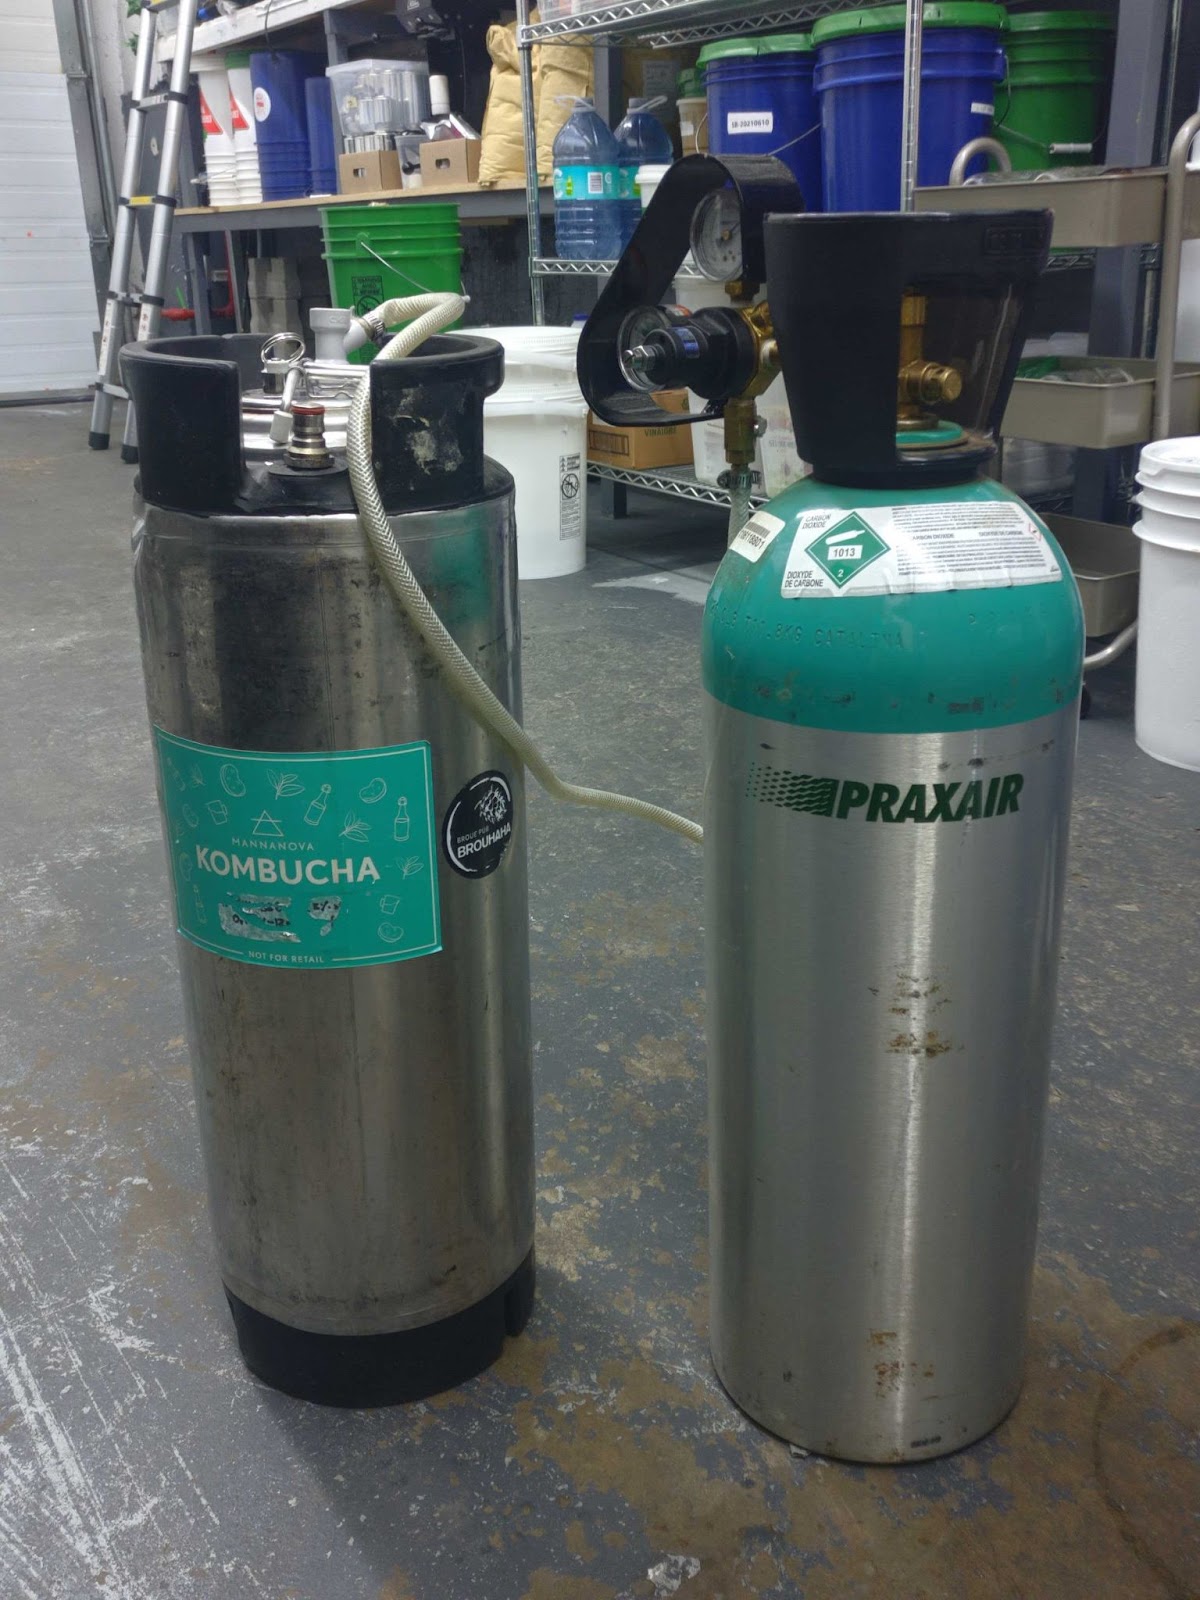
Cornelius keg (left) with CO2 bottle and attached regulator
The beauty of homebrewed kombucha is the black-box fun about it: throw everything together, let it ferment, flavour, bottle, let it carbonate at room temperature and voilà, kombucha! This is great fun at home, and makes for delicious, always-different, slightly boozy kombucha. You’re also crossing your fingers at every step and hoping things go well.
Obviously, crossing your fingers when producing hundreds of liters is not a reasonable strategy, and product stability (and alcohol!) is probably the chief concern of budding brewers.
One way to “lock in” your kombucha is to force-carbonate it: by using a CO2 canister to add bubbles, you’re not giving it the chance to bottle ferment at room temperature over a few days. Bottle fermentation, when everything goes right (🤞), makes for great bubbles, a complex taste… and a good dose of alcohol. When everything goes wrong, it can lead to off-flavours, over-carbonation or even a completely flat kombucha. By force-carbonating, you can ensure consistency across hundreds or thousands of bottles. Your customer can pop that cap knowing they’ll get a delicious, bubbly, low-alcohol kombucha that tastes like you intended.
3. Leave Your Kombucha out on the Counter to Test Shelf-life
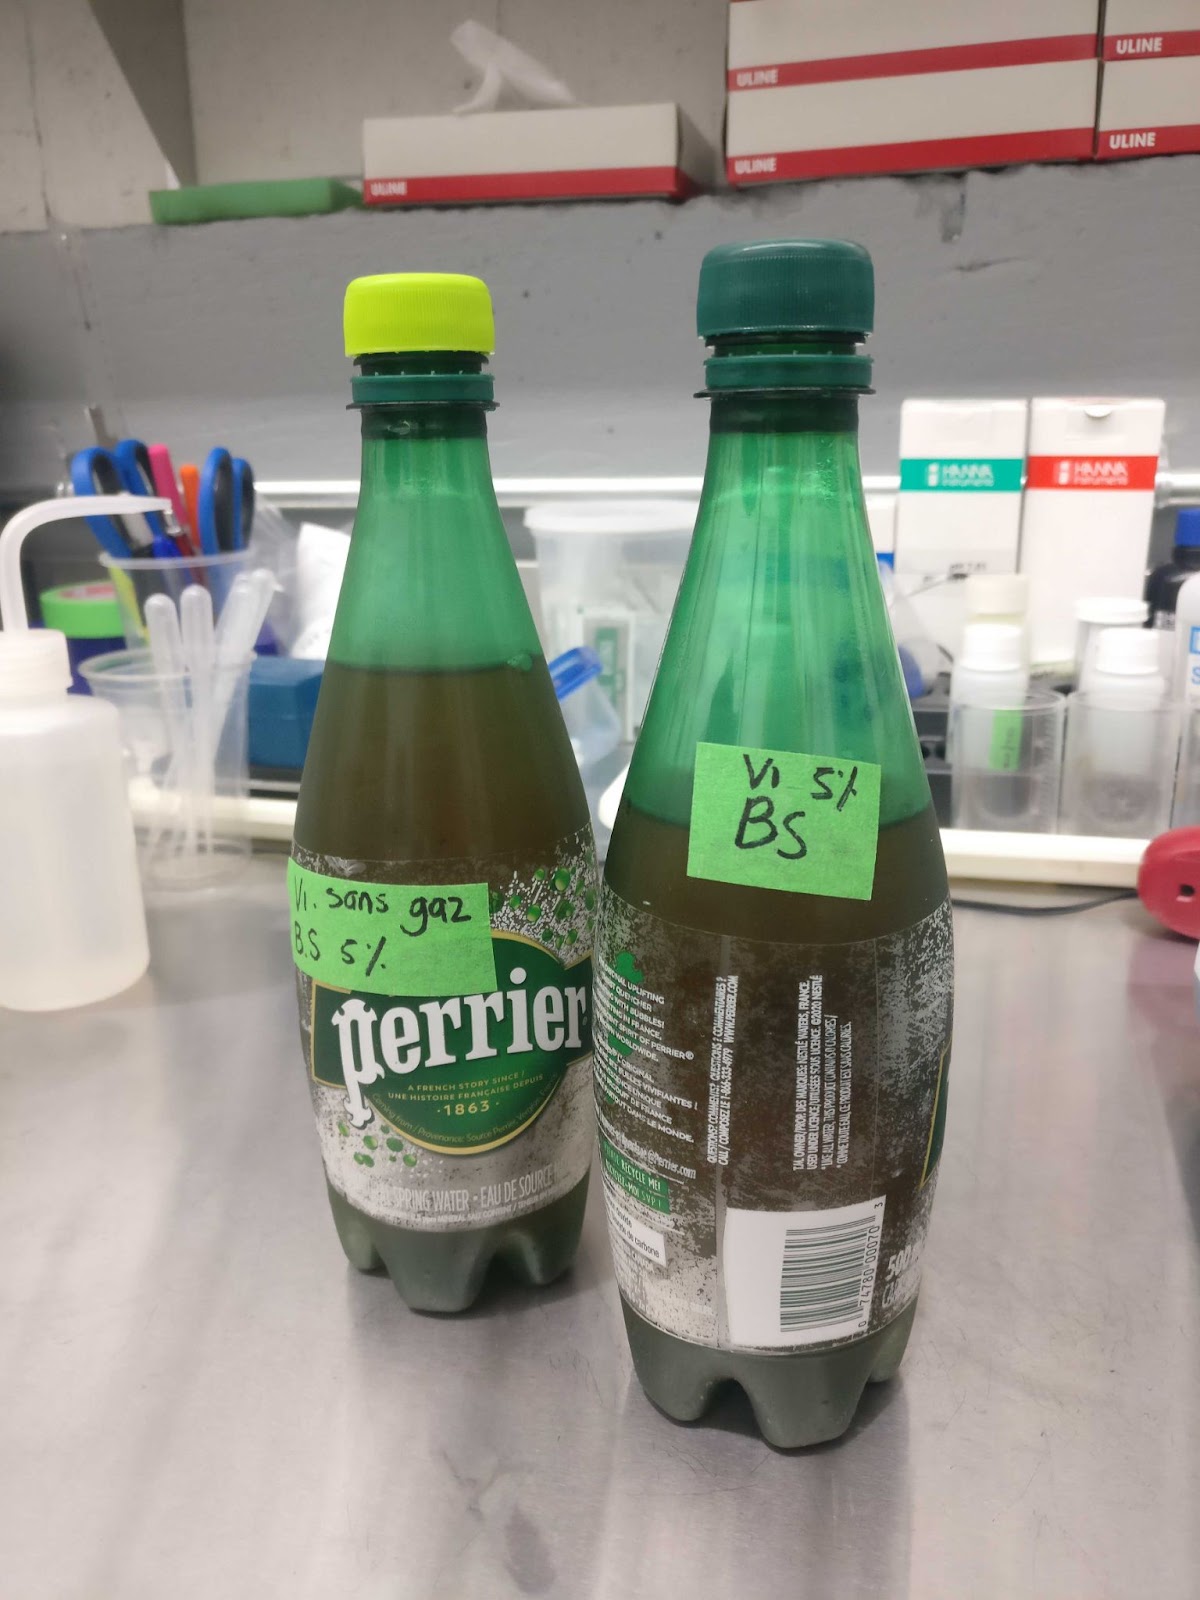
As a rule of thumb, kombucha ferments 30x faster at room temperature vs inside a fridge – that’s why it must be refrigerated; to slow down the organisms that drive the fermentation. That means that one day outside is similar to one month in the fridge. You can use this rule to build a time-machine and visit your kombucha in the future, in order to see how it’ll evolve over many months in a fridge (for example, to set a “Best by” date). Here’s how:
- Take 6-12 soda bottles (Perrier, Coke, etc.) and fill them with a bit of kombucha (say, 200 ml). We recommend plastic bottles to be able to squeeze them to feel the gas build up.
- Label them 1, 2, 3, etc. and leave them at room temperature in your lab or on your counter.
- After one day, open bottle 1. Pour in a glass and measure pH and Brix. Log the values, as well as things like carbonation level, colour, smell, etc. Taste it. This is your kombucha after one month in the fridge.
- Open one bottle per day to understand how your product is evolving, and at which point it no longer reaches your standards (it becomes overcarbonated, it tastes off, etc.). That’s your best-by date! So if bottle 8 is opened on Day 8 and is the first one out of spec, you’d set a best-before date at 7 months.
Note: obviously, this “time machine” works better when the brew is homogenous and if you’ve previously force-carbonated (so that it’s “good” at Day 0).
Mannanova helps small, medium and large kombucha producers launch and scale their production.
We do this thanks to in-person workshops, the online Kombucha Masterclass and consulting mandates.
We also produce Manna-K, a kombucha base that stabilizes fermentation in order to minimize alcohol and exploding bottles. It’s ideal for ensuring a consistent product, scaling your production and simplifying your life! Some applications of Manna-K are considered “from concentrate” according to the Kombucha Code of Practice and have their own labeling requirements depending on how it is used. Ask your representative for more details.
You can reach us at info@mannanova.com